
Gmail or Google Mail is one of the best email services that are available for free. I’ve been personally using Google’s mail from the last 10 years and was never disappointed. I’ve also used Yahoo and Microsoft Hotmail, but Google mail is still my primary email communication. I also use the G Suite for Work at DigitBin which is an exact replica with some additional storage space and without any annoying ads. You can also get the G Suite at a discounted price for your business needs. With a single Google , you can enjoy all the perks that Google is offering for free. It includes a Mailbox, Free 15GB Drive Storage, YouTube access, a Blogger , Chrome Browser sync, Android Play Store, and many more.
In this article, you’ll be able to learn how to use the Gooogle mail as a professional . It has some basic as well as advanced guide so make sure that you read and watch the videos carefully to learn Gmail.
Let’s start off with ing a Google for free —
Create a Google for Free
Creating a Google and a Gmail Address is very simple and free. All you need is to yourself as a . Follow these steps to a Google or Gmail for free:
- Go to www.google.com

- Hit on [Sign in] button at the top-right corner, and then click on the Create link

- Fill in the form with accurate details
- You should enter a unique name and (this name is also you Gmail emailing address)

- On the next page, enter the phone number and recovery email address (this is quite useful in-case you forget your credentials. Recovery option will help to regain your Google )
- Filling other details like Date of Birth and Gender, etc.

- Customize and accept the privacy and for free Google sign up
- Hit on [I Agree] button to a Google

You’ve now created and logged into Google associated with a Gmail Address.
First Time into Gmail, Setup and Complete
Now that we have created a Gmail or Google , let into our . We will to the Gmail mailbox, surf the basic stuff and then learn how to log out Gmail. When we Sign out of the , our email or Gmail address is still stored, hence we also need to remove the .
Follow the simple steps to sign in and completely log out and remove the Gmail traces on any browser:
- Go to www.google.com
- Hit on [Sign in] button at the top-right corner to navigate to page
- Enter the name (i.e. Gmail Address) and corresponding and hit on [Next] button

- Once you’ve logged into Google , click on Gmail link visible in top-right of the Google home page OR you can even visit the www.gmail.com address

- You’ll be navigated to Gmail mailbox automatically
- Skip the intro and make yourself comfortable with Gmail UI

- To log out, hit on the profile picture at the top right corner and select [Sign out] command button

- You’ll be automatically logged out of Google and Gmail
- On the page, select your Google , and hit on Remove an command and confirm your changes in the dialogue window

In this way, you can , surf as well as completely remove the Google or Gmail details in any web browser.
Gmail Theme Setup & Background Photos
You can customize the Gmail look and feel as well as change the background photo from the lighter version. The new Gmail UI is based on material design and it’s now rolled out to almost all the Google programs, including the Android apps. In Gmail, you can modify the theme as well as customize the background from the themes option available under the gear icon. Follow these simple steps to change the Gmail theme as well as background photo:
- to Gmail
- Click on Gear icon to open Gmail options
- Select the Themes from the list

- This will open the window to Pick your theme
- You can select any available theme and hit [Save] button to apply on the Gmail layout

- Alternatively, you can also click on the [My Photos] button to select the photos from your own library of Google Photos
- Hit on [Select] and then [Save] button to apply your own personal photo as background picture
That’s it. You’ll be able to see the customized Gmail after .
Alert: the option to revert back to the classic version is no longer available in Gmail.
Mark as Read in Gmail Inbox & Categories
If you’ve too many unread emails in your Gmail under different categories like Primary, Social, Promotions, Updates, and Forum. You can actually select all at once and mark the email under category or folder as read. You do not need to individually open each mail to consider it as read.
Follow these simple steps to Mark as Read in Gmail:
- to Gmail using Google
- Navigate to Category or Folder that you need to mark as read
- Enable the checkbox against the folder to select all the email under category
- Click on 3 vertical dots for more options
- Select the command Mark as Read from the options list

- That’s it!
All the emails in a particular category in Gmail will be marked as read.
You can even mark all the email as read without selecting any particular mail, however, hitting the command “Mark all as read”.
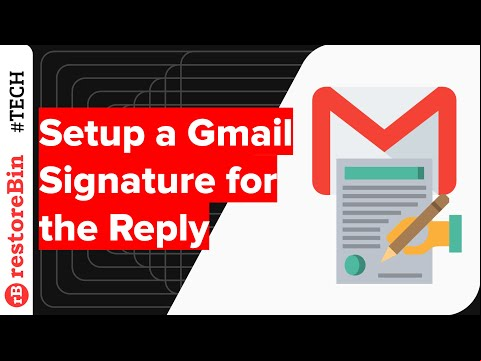
Setup a Gmail Signature for Emails
Email communication should always have a personal signature. This signature implies that you’re communicating in a polite and formal manner. This also helps in understanding who is the sender if the mail chain is too long with multiple people being involved. Whether you’re using the Google Mail for Personal communication or use G Suite at your Work, you should consider having a Signature that is automatically added in your outgoing email. Be it a new mail or reply.
Follow these simple steps to set up a Gmail signature for your emails:
- into Gmail
- Navigate to Settings from the gear icon

- Under Settings > General tab scroll down to the Signature section
- Switch the radio button from No signature to Signature text area field
- Fill in the text area with your desired Signature

- Hit on [Save Changes] command button
- That’s it!
Hit on [COMPOSE] button to if the signature is appearing the mail. You can also check by hitting on the Reply or Forward option to any existing email.
Below is my personal signature that you can modify and use as you Gmail Signature:
Thank you!
Regards,
Kushal Azza
E: em*********@***il.com | M: 098-765-4321
You can even customize it to make it a little professional by adding a designation, website, and office phone if available.
Thank you!
Regards,
Kushal Azza
Founder of restoreBin | https://restorebin.com
E: em*********@***il.com | M: 098-765-4321
You can even add the HTML signature, and the logos or personal sign.
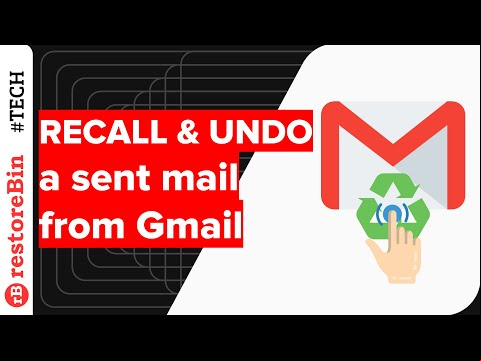
Quickly Recall or Undo a Sent Email
Sometimes we realize the mistake in our email after hitting on the sent button. Hence, the Undo command is a savior to recall the sent email back to our mailbox. This not typically retrieving the email back from the receiver mailbox, but holding the mail in our outbox for a definite preset waiting period and then send out.
These are the steps to set up Undo or Recall in Gmail:
- into Gmail mailbox
- Navigate to Settings under Gear Icon
- Scroll to section Undo Send under General tab settings

- Select the checkbox and set the Send cancellation period timer to whatever you want – I have set to 30 seconds
- Scroll to the bottom and hit on [Save Changes] command button
Now let’s test the Undo command in Gmail.
- Navigate to Compose and type in a new test email
- Hit on [Send] button, the email will be sent and you’ll be able to see the status ‘Your message has been sent‘ along with two option — View Message and Undo

- Hit on the Undo command to revert email back to compose with the status ‘Sending has been undone‘
- If you do not take any Undo or Recall action, the email will be automatically sent after the set cancellation period (30 seconds)

- Post cancellation period, you won’t be able to recall the email by any chance and even the Undo option will also disappear from the status
I suggest keeping the Send cancellation period to 30 seconds so that you have enough time to read through the sent email again and revert if required.
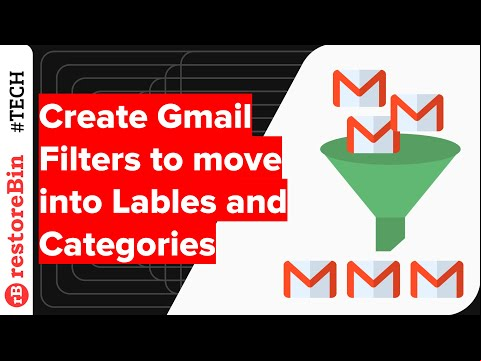
Create Gmail Filters and Move into Labels
To organize the Gmail incoming emails, the Label is a really helpful feature. You can create a filter against that label so that when next time any mail match that filter will be automatically tagged under that label.
Follow these steps to create a label in Gmail:
- into Gmail
- Scrolling in the tabbed sidebar section till the end and clicking on the command + Create new label
- A popup window will appear, fill in the Label name
- If you want to have the nested hierarchy, enable the checkbox Nest label under and select the parent label from the list
- Hit on [Create] button to create a new label

Now that we’ve created the label, let’s proceed with creating the filter condition to move the incoming emails.
Suppose I want to mark all the email coming from @google.com into the label google that we created. Follow the below steps:
- Open an email that you want to add under the label you’ve created
- Click on 3 vertical dots to view more options and select Filter messages like these from the list

- Adjust filter condition such that it will only display the desired result. In my case, I will add a condition to match from:@google.com

- Hit on [Create filter] command button
- Next, select action you want the Gmail to take once the filter condition is matched. In my case, I will apply the label “google” to the matched email

- Also, enable the checkbox if you want to apply the filter to existing email
- Finally, hit on [Create filter] button to save the changes
That’s it. Now all the incoming email that match the filter condition will be automatically marked with label. Similarly, you can also apply different filter conditions and action.
You can easily delete any filter from the Gmail Settings > Filters and Blocked Addresses.
You can create unlimited filters and customize the inflow of emails per your needs.
Hide or Unhide Categories and Sidebar Labels
You can easily hide and unhide the category tabs in your Google mail inbox by using the Configure inbox option. Follow the below steps:
- to Gmail inbox
- Hit on the gear icon and select Configure inbox option

- This will open the Select tabs to enable window
- Select or deselect the checkbox against each category you want to hide or unhide
- You can also enable the option to display the starred emails in Primary category

- Hit on [Save] button to make the changes live
Based on your selection, the Gmail Inbox will be changed. I’ve deselected all the categories, hence all the tabs are now hidden and every incoming email will be added into primary inbox.

Please note that Primary checkbox is always enabled and you cannot disable in Configure inbox option.
Next, we can hide the labels and other tabbed categories from inbox to make the sidebar look decluttered. Follow the steps:
- to Gmail and navigate to the Settings page from Gear icon
- Switch to second tab — Labels
- On this Labels setting page, you can show or hide the labels that are being displayed in the list
- Per needs, hit on the show or hide command against each entry

- The labels and categories will be hidden or displayed in real-time upon action
All the categories and labels that we appearing in sidebar pane will be hidden based on your selection. While all the labels and categories are auto-hidden, but you can view them by click on More command in the sidebar pane.

Move Hangout Chatbox in Gmail
When you sign in into Gmail, you can notice the hangout chat is located in the sidebar. However, most people (including me) isn’t comfortable. Hence, we can move the Hangout chatbox from sidebar to left side as a popup bar.
Follow these simple steps to move hangout chatbox in Gmail:
- Gmail and navigate to the Settings page from Gear icon
- Switch to Advanced tab under settings
- Scroll to the section — Right-side chat and select the enable radio button

- Hit on [Save Changes] button
Now, navigate back to Gmail Inbox and watch the Hangout chat box appearing in right-side.
You can switch back to the original left-side view by selecting the Disable option in Right-side chat section under Advanced setting tab.

Enable Desktop Notification for Incoming Emails
Desktop notification is really helpful when you don’t want to miss any emails. Whenever you get an email, the browser will automatically send popup notification to your desktop. You can click on the notification to open and read the email immediately.
Before we get started, we need to make sure that Notifications is allowed for Gmail. If the notifications are disabled in the browser, then you won’t be allowed to enable the alerts.
Follow these simple steps to enable the desktop notification in Gmail:
- to Gmail
- Hit on the Security padlock in the browser
- Enable the browser Notification by changing it to Ask (default), this will ask to reload the webpage

- Now navigate to General settings from the Settings under Gear icon in Gmail
- Scroll the section — Desktop Notifications
- Hit the link Click here to enable the desktop notifications for Gmail and allow the notification popups
- Next, select the radio button to either New mail notifications on OR Important mail notification on

- After selection, hit on [Save Changes] button
Just in-case if you missed to enable the browser notification, you will be able to an alert saying – Notification has been disabled in this browser. In such instances, you should follow steps 1 to 3.

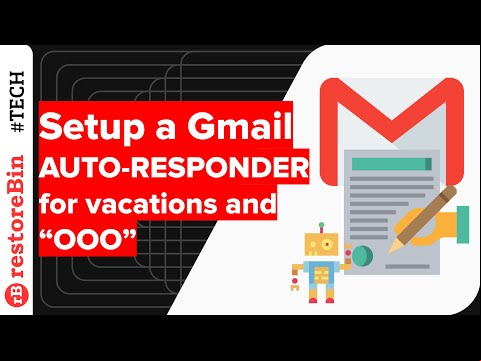
Setup Auto-Responder and OOO Reply
If your primary communication is via email, then it’s quite important to set up the vacation responder or out of office reply when you’re not at work. This vacation responder will help the sender to understand that you do not have access to the mailbox.
Follow the simple steps to enable the vacation responder in Gmail:
- to Gmail
- Navigate to Settings from Gear icon
- Scroll down to Vacation responder section under General settings
- Switch the radio button to Vacation responder on and select the day when to enable the responder
- You can even customize the subject line and enter the vacation message

- Once you’re setup with the responder, just hit on the [Save Changes] button to enable the auto-responder
You can also enable the option to send the out-of-office responder to only your s. If you also enter the last day, the auto-responder will stop sending the response after the end date.
The vacation message allows you to add the text in HTML format. Here is a vacation responder example for your reference.
Hello sender,
Thank you for your email. I'm OOO for next week until 31st December without access to mailbox and work. Please expect a delay in my response.
If anything urgent, please  co*************@*****le.com OR text me at 9876543210.
Thank you!
Your Name
Feel free to customize the vacation responder per your needs and add any important details and alternate s.
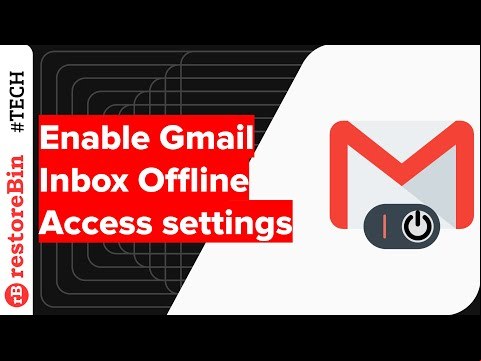
Enable Gmail Inbox for Offline Access
Gmail Offline feature is very helpful if you’re a frequent traveller and also to those who have network issues.
Suppose you’re in the flight and wanted to refer back to an email that was sent yesterday. The Gmail Offline will store this email into browser cache and local storage allowing you to access even when you’re not connected to a network.
Follow these steps to enable Offline Gmail access:
- to Gmail
- Navigate to Settings > Offline tab
- Select the checkbox to Enable offline mail
- Select the sync settings and attachment option
- Hit on [Save Changes] command button

- That’s it! You are ready for Offline access
Gmail will automatically start ing the emails and attachment in the background based on your settings. This might take a while based on your storage and network speed. Once your offline backup is completed, just disconnect your system from the network and try accessing the emails and attachment. I believe you shall be able to access without any issues.
Please note that Logging out of Google or Gmail will remove locally stored data.
Advanced Google Settings
These are some of the advanced Google settings that might be helpful to learn and use for security, backup, and improve productivity.
- Google Data Backup and Delete Permanently helps to entire information along with the personal data and also learn how to delete the Google forever
- Change Google or Gmail to easily manage the and security to regain access if you
- Enable 2-steps verification in Google to secure the Google with an additional layer of security code , Google prompt or even authenticator app
- Sign in multiple Google s in Chrome help to access and manage multiple Google in the chrome browser independent of each other
- Enable Google Assistant in G Suite to invoke OK Google assistant on your smart device that has G Suite . By default, the Google Assistant is disabled at the level, learn here how to enable it
Conclusion:
I hope you find this guide helpful. Please let me know what else you’re looking for so that I can make the additions to make this tutorial even helpful for general s. I’ll personally add more guides and video tutorials to this comprehensive tutorial. Also, update the articles when required, hence bookmark this page for future references.
Alternatively, even Microsoft offers a free email service along with extra features just like Gmail. It’s called Hotmail mailbox or Outlook Mail.
If you've any thoughts on #GmailPro: A Step-by-Step Guide to Become a Gmail Super !, then feel free to drop in below comment box. Also, please subscribe to our DigitBin YouTube channel for videos tutorials. Cheers!


![How to Take Snapchat Screenshot without Notification [Android and iOS]](https://image.staticox.com/?url=https%3A%2F%2Fcdn.digitbin.sitesunblocked.org%2Fwp-content%2Fs%2FHow-to-Take-Snapchat-Screenshot-without-Notification-Android-and-iOS-200x200.png)


My messages are all are stoked on outbox they are unable to sent